Easy Instant Pot Shredded Beef Burritos for Quick Meals
In the quest for convenient, delicious, and satisfying weeknight meals, few dishes hit the mark quite like make-ahead shredded beef burritos. Imagine coming home after a long day and having a freezer full of ready-to-heat, flavor-packed burritos just waiting to be devoured. Thanks to the magic of the Instant Pot, preparing the star component—tender, juicy shredded beef—has never been easier, transforming what could be an all-day affair into a hands-off cooking experience. These aren't just any burritos; they are a testament to smart meal planning, offering both immediate gratification and a stash of future feasts.
Whether you're feeding a busy family, a hungry student athlete, or simply looking to streamline your own cooking routine, these Instant Pot shredded beef burritos are a game-changer. They combine robust Mexican flavors with the ultimate convenience, making them a perfect solution for quick meals without sacrificing taste or quality.
Unlock Flavor with Instant Pot Shredded Beef
The foundation of any great burrito is its filling, and for these crispy shredded beef burritos, it's the incredibly tender and flavorful Mexican shredded beef that truly shines. The Instant Pot is your secret weapon here, transforming a tough cut of meat into fall-apart perfection in a fraction of the time it would take on the stovetop or in a slow cooker. This pressure-cooking method ensures every strand of beef is infused with rich, aromatic spices.
Choosing and Preparing Your Beef
For the best results, opt for a chuck roast. This cut is ideal for shredding due to its marbling and connective tissue, which break down beautifully under pressure, yielding succulent, moist beef. You might need to cut a large chuck roast into 2-4 pieces to fit comfortably into your Instant Pot. Don't be afraid to trim some of the excess fat, but leave a good amount for flavor and moisture.
Instant Pot Shredded Beef Ingredients:
- 2-3 lb chuck roast, trimmed and cut into pieces
- 1 tbsp olive oil (optional, for searing)
- 4-6 cloves garlic, minced
- 1 large onion, chopped
- 1 (14.5 oz) can diced tomatoes, undrained (or 2-3 fresh tomatoes, chopped)
- 1-2 chipotle peppers in adobo, minced (adjust to your spice preference, or omit for mild)
- 1-2 chile guero (or mild jalapeno), optional for subtle heat
- 1 tsp ground cumin
- 1 tsp dried oregano
- 2 bay leaves
- 1 tsp salt, or to taste
- ½ tsp black pepper, or to taste
- 1 cup water or beef broth
Instant Pot Cooking Instructions:
- (Optional but recommended) Select the Sauté function on your Instant Pot. Add olive oil. Once hot, sear the beef pieces on all sides until browned. This step adds depth of flavor, though you can skip it for a quicker start. Remove beef and set aside.
- Add a little more oil if needed, then sauté the chopped onion until softened, about 3-5 minutes. Add the minced garlic and cook for another minute until fragrant.
- Return the seared beef to the pot (if searing). Add the diced tomatoes, chipotle peppers, chile guero (if using), cumin, oregano, bay leaves, salt, pepper, and water or broth. Ensure the liquid level reaches at least the minimum required for your Instant Pot model.
- Secure the lid, ensuring the sealing ring is properly in place. Turn the steam release valve to the Sealing position.
- Select the Meat/Stew function (or Manual/Pressure Cook) and set the time for 60-75 minutes on high pressure. The exact time depends on the size of your beef pieces and desired tenderness.
- Once the cooking cycle is complete, allow for a natural pressure release for at least 15 minutes, then carefully turn the steam release valve to Venting to release any remaining pressure.
- Remove the beef from the pot and place it in a large bowl. Using two forks, shred the beef until it's in tender strands.
- Reserve the cooking liquid! This flavorful broth is gold. You can either toss the shredded beef with some of the broth and skimmed fat to keep it moist and infuse it with more flavor, or reduce the broth on the sauté setting to create a rich sauce to add to the burritos (or keep separate for freezing).
Crafting Your Perfect Shredded Beef Burritos
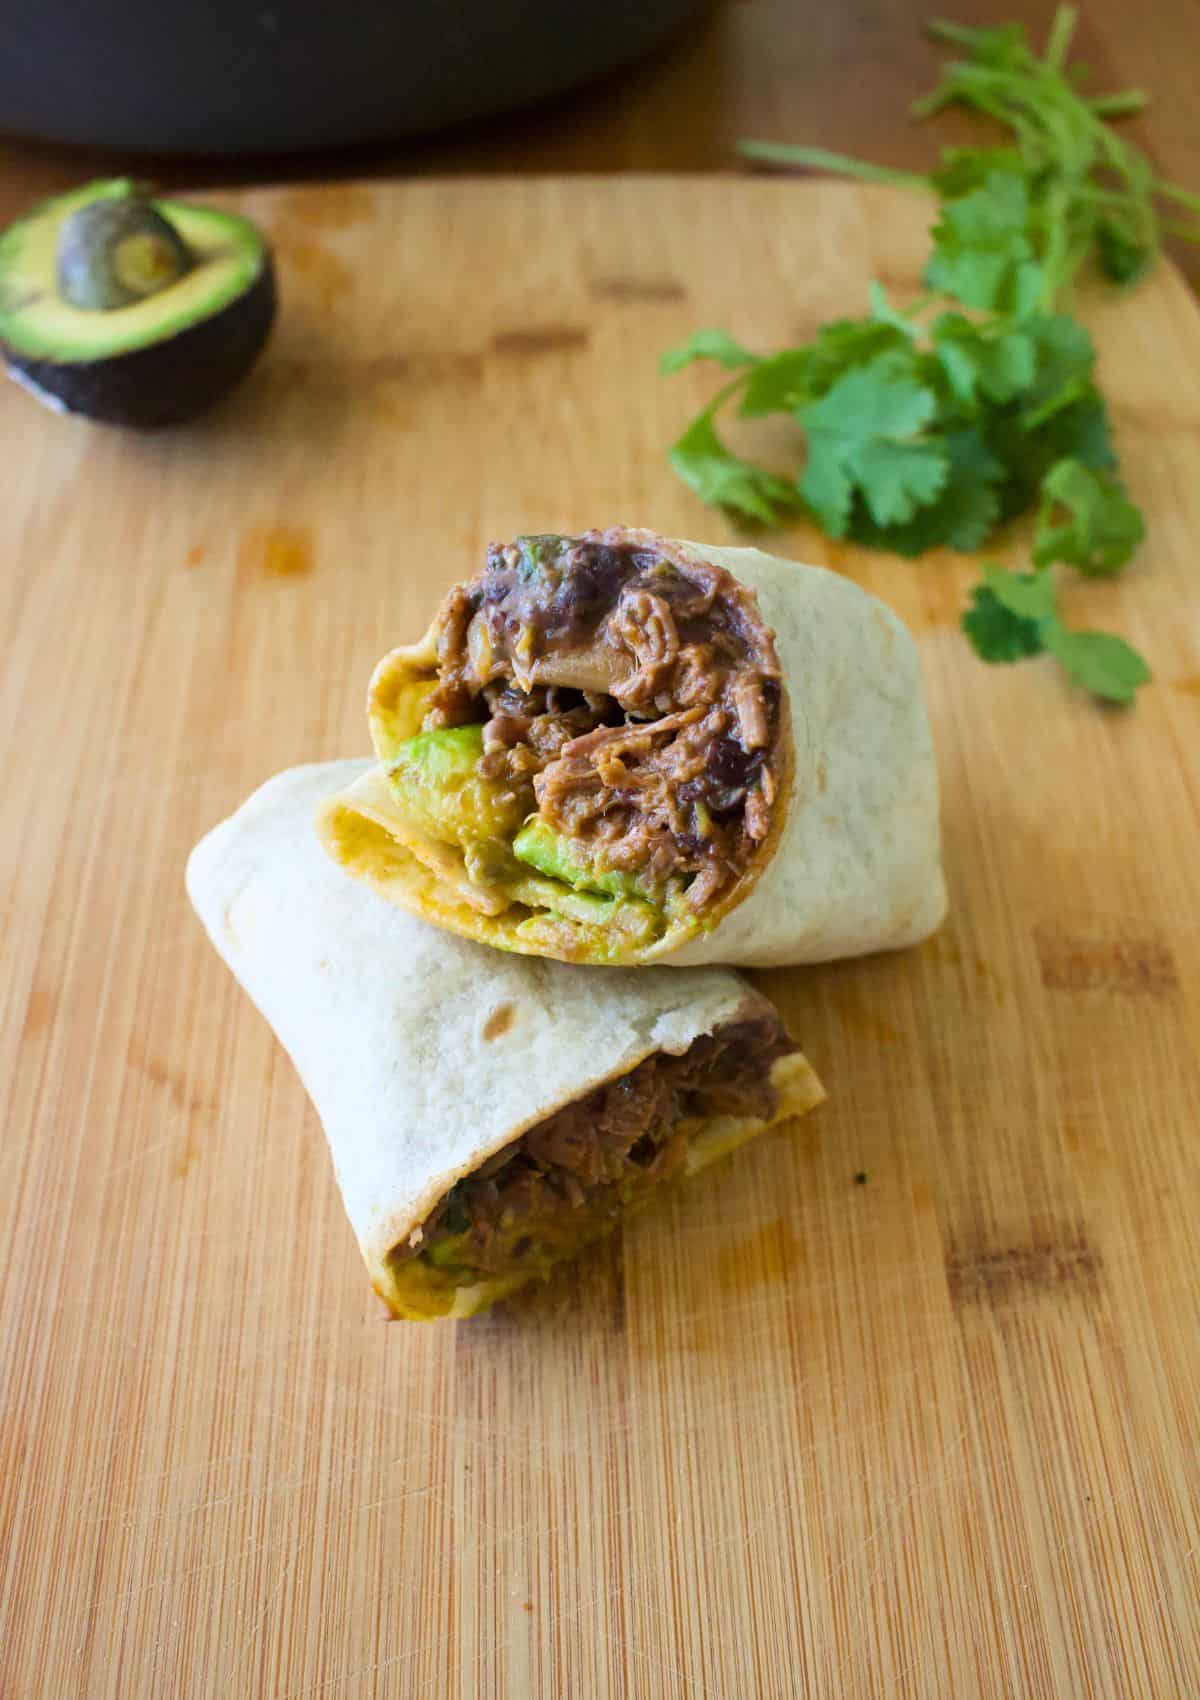
Once your succulent shredded beef is ready, assembling your burritos is the next exciting step. The beauty of these burritos lies in their simplicity and the balance of flavors and textures.
Essential Burrito Fillings:
For a truly freezer-friendly and delicious experience, we focus on ingredients that hold up well to freezing and reheating. Each of these components contributes to the ultimate comfort food experience:
- 8 large extra-soft flour tortillas (10"/26cm)
- 1½ to 2 cups shredded cheese (Monterey Jack, cheddar, or a Mexican blend work wonderfully)
- 3 to 4 cups Mexican Shredded Beef (plus desired amount of sauce)
- 2 cups Mexican Red Rice (homemade or store-bought)
- 1 (14 oz / 400g) can corn kernels, drained
- 1 (14 oz / 400g) can black beans, rinsed and drained
Assembly Instructions:
- Warm Your Tortillas: Briefly microwave half your tortillas for about 15 seconds. This makes them pliable and prevents cracking during rolling. Keep the rest covered with a tea towel to retain warmth.
- Layer with Care: Place one warm tortilla on your workbench. The key to a well-built burrito is strategic layering. Start by placing a generous sprinkle of shredded cheese down the middle. The cheese acts as a "glue" as it melts, holding the other fillings in place.
- Add the Goodness: Top the cheese with about ⅓ cup of your flavorful shredded beef. If you're managing the sauce separately for freezing, this is where you can drizzle a little on top of the beef.
- Finish the Filling: Add a spoonful of drained corn, then some rinsed black beans, and finally, about ¼ cup of Mexican Red Rice. Distribute the fillings evenly in a line down the center.
- Roll It Up Tight: To roll, fold the two opposite sides of the tortilla inward over the filling. Then, starting from the bottom (the side closest to you), fold the edge tightly over the filling, tucking it in as you roll upwards. Continue rolling snugly until you reach the top. If stuffing a lot, use your fingers or even a knife to help hold the filling in place as you tuck and roll.
- Secure and Repeat: Once rolled, you can immediately wrap the burrito tightly in foil if serving later or freezing. Repeat the process with the remaining tortillas and fillings.
Meal Prep Magic: Freeze, Reheat, and Enjoy!
The true genius of these Instant Pot shredded beef burritos lies in their meal-prep potential. They are designed for convenience, allowing you to stock your freezer with wholesome, homemade meals that are ready when you are. This makes them perfect for busy weeknights, grab-and-go lunches, or simply when you need a break from cooking.
Freezing for Future Feasts:
Once your burritos are assembled and tightly rolled, wrap each one individually in aluminum foil. This protects them from freezer burn and makes them easy to grab. Place the foil-wrapped burritos into a freezer-safe bag or container, label with the date, and freeze for up to 3-4 months.
A Quick Tip on Fillings for Freezing: Stick to ingredients like the shredded beef, cheese, rice, beans, and corn for your freezer stash. Ingredients high in water content or delicate textures, such as avocado, fresh salsa, pico de gallo, lettuce, or sour cream, tend not to freeze well. They can become soggy or mushy upon thawing, altering the texture of your delicious burrito. You can always add these fresh elements after reheating!
Reheating for Instant Gratification:
- From Frozen (Oven Method): Preheat your oven to 350°F (180°C). Place the foil-wrapped burritos directly from the freezer onto a baking sheet. Bake for approximately 40-45 minutes, or until heated through.
- Thawed & Crispy (Skillet Method): For a gloriously crispy tortilla, thaw the burritos in the refrigerator overnight. Heat a skillet over medium heat. Remove the foil and cook the burritos for 4-5 minutes per side, or until the tortilla is golden brown and crispy, and the inside is hot.
- Quick Microwave (Less Crispy): While you can microwave a frozen burrito (remove foil first!), expect a softer tortilla. Microwave in 2-3 minute intervals, flipping occasionally, until hot. For a slight crisp, you can finish it in a hot skillet for a minute or two after microwaving.
Customization & Serving Suggestions for Immediate Enjoyment
While the basic Instant Pot shredded beef burritos are phenomenal on their own, there's always room for customization, especially if you're serving them immediately or adding fresh toppings after reheating. This allows you to tailor each burrito to individual preferences and elevate the dining experience.
Fresh Additions for Non-Frozen Burritos:
If you're making a batch to eat right away, or want to enhance a reheated frozen burrito, consider these vibrant additions:
- Creamy Avocado or Guacamole: Adds a rich, cooling contrast.
- Fresh Salsa or Pico de Gallo: A burst of fresh tomato, onion, and cilantro.
- Chopped Fresh Cilantro: Brightens the flavors.
- Crisp Lettuce or Cabbage Slaw: Adds a refreshing crunch.
- Sour Cream or Mexican Crema: A dollop adds creaminess and balances spice.
- Spicy Pickled Jalapeños: For an extra kick and tangy bite.
These fresh ingredients don't freeze well, so they are best added just before serving. They transform a simple meal into a gourmet experience, offering varying textures and temperatures that delight the palate.
Serving Suggestions:
Serve your crispy shredded beef burritos with a side of extra Mexican Red Rice, some additional black beans, or a simple green salad for a complete meal. A sprinkle of cotija cheese or a lime wedge can also add a professional touch.
Conclusion
These Easy Instant Pot Shredded Beef Burritos are more than just a recipe; they're a smart strategy for delicious, convenient eating. By harnessing the power of the Instant Pot, you can create incredibly tender and flavorful shredded beef with minimal effort, which then forms the heart of these versatile, meal-prep friendly burritos. Whether you're making them for immediate enjoyment with all the fresh fixings or stocking your freezer for quick meals down the line, these shredded beef burritos promise a satisfying, flavor-packed experience every time. Embrace the ease, savor the taste, and make your busy life a little bit more delicious!
